Hardwood floor installation gives off an appearance that is both timeless and elegant, making a great addition to any home or business. If you’re considering installing hardwood floors in your living or work space, the process involved can seem overwhelming if you are not experienced in this area.
However, with a little knowledge, some preparation and the right contacts, you’ll be able to complete the project with confidence and ease! Let’s take a look at the steps involved in the installation of hardwood flooring:
1. Prepare the Subfloor
The first step of hardwood floor installation is to make sure to remove any pre-existing flooring, such as carpet or tile. The best way to prepare the subfloor for installation is to ensure that the surface is clean, level, and free of debris.
This is important because the new hardwood floor boards must be able to adhere to the underlying surface boards. Before placing the new boards, the process may also involve replacing any underlying boards that may be damaged or warped in order to ensure an even surface.
2. Lay the Flooring Underlayment
Next, you will need to install an underlayment between your subfloor, or bottom most layer of flooring, and your hardwood planks. An underlayment is a thin layer of material that is often composed of rubber, foam or felt, which serves several purposes.
Some of these include, providing moisture protection, reducing sound transmission into other rooms in your home or office, as well as, creating an even surface on which your planks can rest comfortably.
3. Stagger Your Planks
Once you have prepped your subfloor and installed your underlayment it’s time to start laying down the planks. This is where you will start to see everything come together as an (almost) finished product.
Before you begin to lay down your planks, it is important to remember two things. The first is to always stagger your planks, which means to create random patterns, so that they don’t form a “V” shape when seen from above.
The second is to always use spacers between each plank so that they don’t buckle or warp over time, which can be caused by expansion or contraction that is caused by changes in temperature.
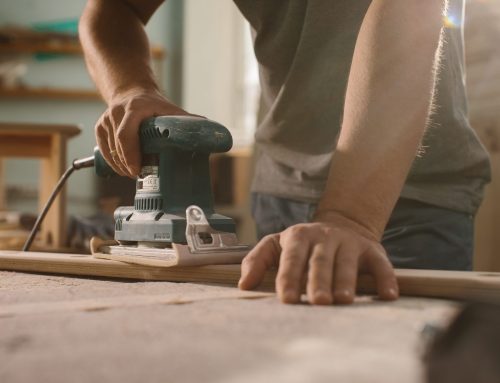
4. Secure Your Planks
After all of your planks have been securely laid out according to manufacturer instructions, it is important to secure them into place using nails or screws. The type of fastener you use is dependent on the type of flooring system you are planning to install (floating vs glued).
Make sure not to over-tighten these fasteners as this could cause warping or buckling over time due to expansion, contraction or cracking of the wood boards. To complete the process of hardwood flooring installation, trim pieces are placed around the edges and corners of the room to create a finished look.
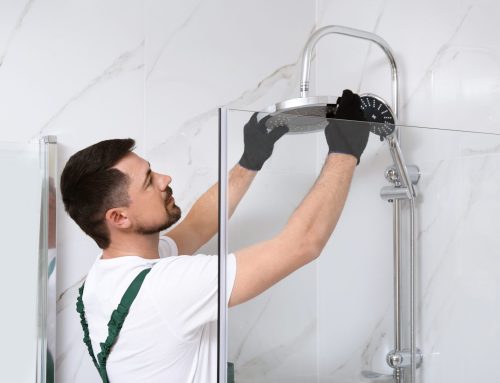
Throughout each and every one of these steps, there is room for error if you are considering attempting hardwood flooring installation on your own. This is a great example of why it would be best to work with a team of experienced home improvement professionals, like the ones at La Clave Improvements.
Call On The Experts at La Clave Improvements To Add Elegance and Beauty To Your Home or Business
At La Clave Improvements, our hardwood floor installation adds elegance and beauty to your home or business, while raising its market value significantly. We assure you that your hardwood floors will be installed properly so that they will last for years without needing repairs or replacements.
If you’re looking for a timeless design element in your home that will last for generations – look no further than beautiful hardwood flooring installation by the experts at La Clave Improvements!